Test your integration
Your integration should be tested through both scenarios in the following order:
Test your integration API responses
In addition to any unit testing you have included in your integration build, it's advised that you thoroughly test your integration against numerous requests to ensure it functions as expected under all conditions before you deploy.
Maxsight is available through an API as well as the UI, which is why it's key to test different types of requests that may vary from those sent from the Maxsight UI.
The following tests are recommended to be performed, though this isn't an exhaustive list as all integrations operate slightly different:
Requests containing more than expected data fields.
Requests containing fewer than expected data fields.
Requests missing required input. For example, missing config fields or missing a date of birth, and so on.
Requests with invalid data types in input. For example, an array instead of a string.
Requests containing invalid credentials or credentials lacking appropriate permissions.
Requests where no matches/results are found, or equivalent for your integration, for example in screening when the searched entity can't be found.
Requests receiving an
ERRORresult, or equivalent for your integration.Requests receiving a
PARTIALresult, or equivalent for your integration.Requests receiving a
FAILresult, or equivalent for your integration.Requests receiving a
PASSresult, or equivalent for your integration.
Test your integration in Maxsight
You must test your integration in Maxsight to ensure it behaves as expected and can run without error. Also, this is your opportunity to ensure all data is displayed as you would expect.
Note
Ensure you have necessary institution permissions from the institution admin to be able to create data providers and smart policies.
To test your integration in Maxsight:
Log in to your institution at one of the two Maxsight environment URLs. To learn more about Maxsight environments, see Testing Maxsight:
https://eu.maxsight.com
https://stg-eu.maxsight.com
Select and choose from the navigation menu.
Select and select the appropriate entity type. You can tell which applicable entity you should be using based on your check type.
Add your integration URL and secret key, and select . To learn more, see How to run the validation suite against your integration.
Remember to include a trailing / at the end of your integration URL.
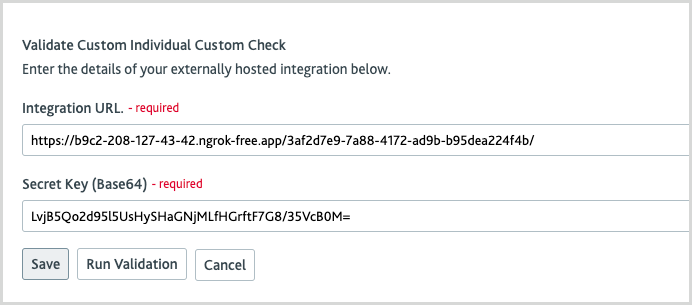

Select from the navigation and choose . Select your associated check type from the drop-down list and select .
Select your newly created check, and in the Default box, check the box with the data provider you added in step three, and select .
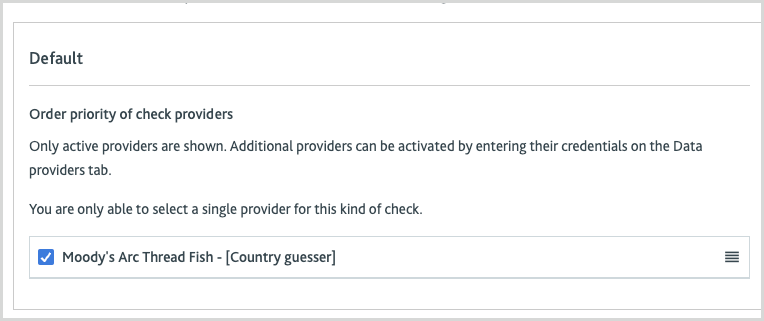
Select from the navigation and choose . Select the appropriate entity type based on your check type.
Select your newly created compliance task. For both Acceptance Checks and Automatic Checks, select and select the check you added in step five, and then select .
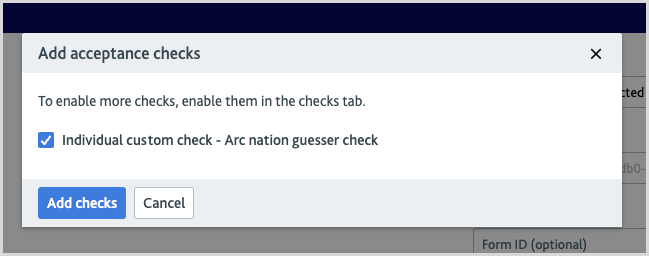
Select from the navigation and choose . Select the appropriate entity type based on your check type. Select to change the name of your workflow.
Select your newly created workflow and move the cursor anywhere in the gray area until you see the box with the plus. You may need to move the cursor for the box to appear. Once you see this box, select the screen, choose Task element, and then select .
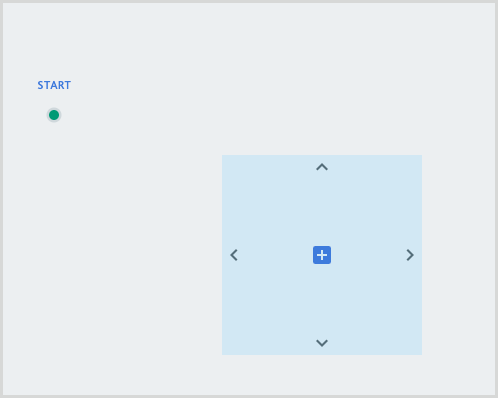

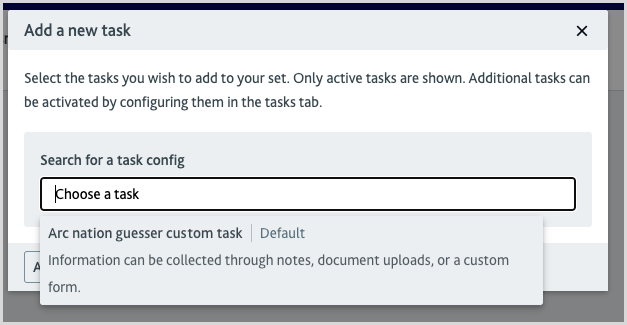
Select the pen icon of your new task box and select . Select the compliance task you created in step seven and select .

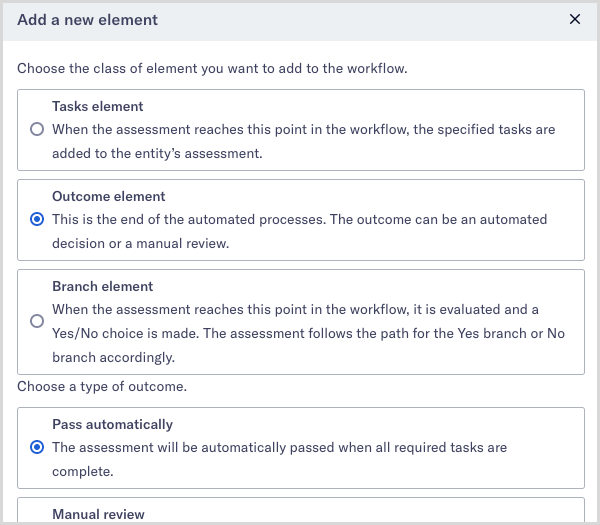
Hover over the gray area again until the box with a plus symbol is visible and select the screen. Select Outcome element, and then for outcome type, choose Automatic approval, and then select .
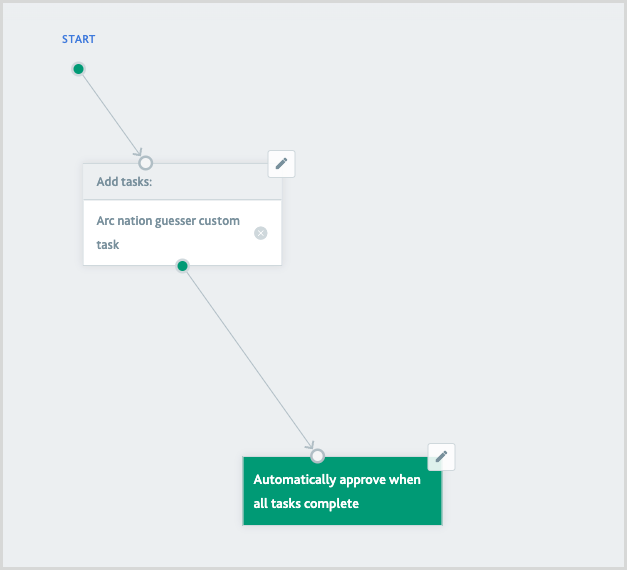
Select and hold the start dot and drag it to your Add tasks box. Select and hold the dot from the Add tasks box and drag it to your Automatically approve when all tasks complete box. When complete, the boxes are connected by arrows. To save your workflow, select .
Select from the navigation and select .
Select your newly created assessment. Check the Entities will follow the selected workflow for this assessment box and the Entities can carry out this assessment multiple times box.
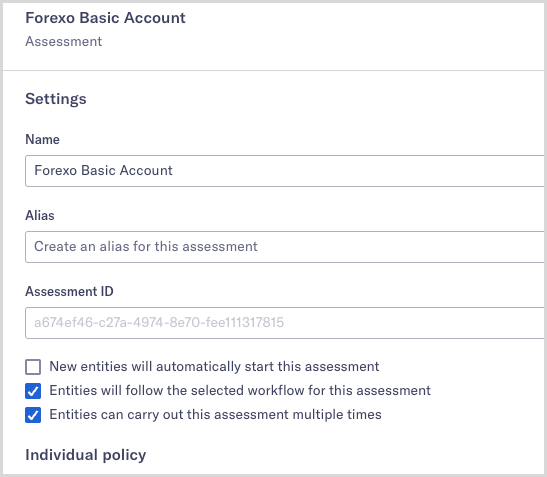
In the Workflow box for the applicable entity, either Individual policy or Company policy, select your workflow you created in step nine and select .
Select from the main navigation and choose .
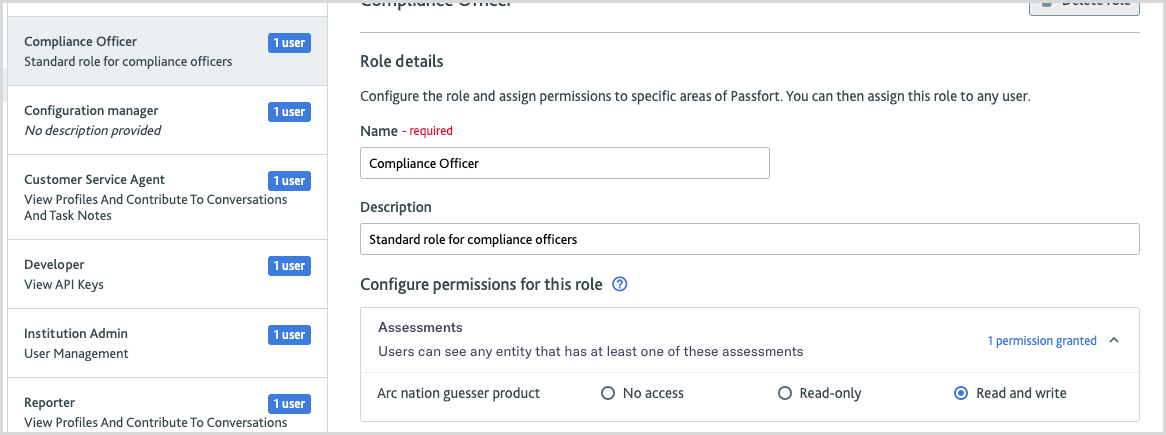
Select the role and select . If not already configured, grant your new assessment created in step 14 the Read and write permission and select .
If you don't have the permissions to do this, speak to an admin user of your institution.
Select from the main navigation and select . Fill out the details as necessary, and in the Assessment drop-down, make sure your new assessement is selected and select .
If you can't see your assessement, cancel the entity creation, refresh your browser, and try again. If your assessement still isn't visible, repeat step 18 and ensure you have set the right permissions.
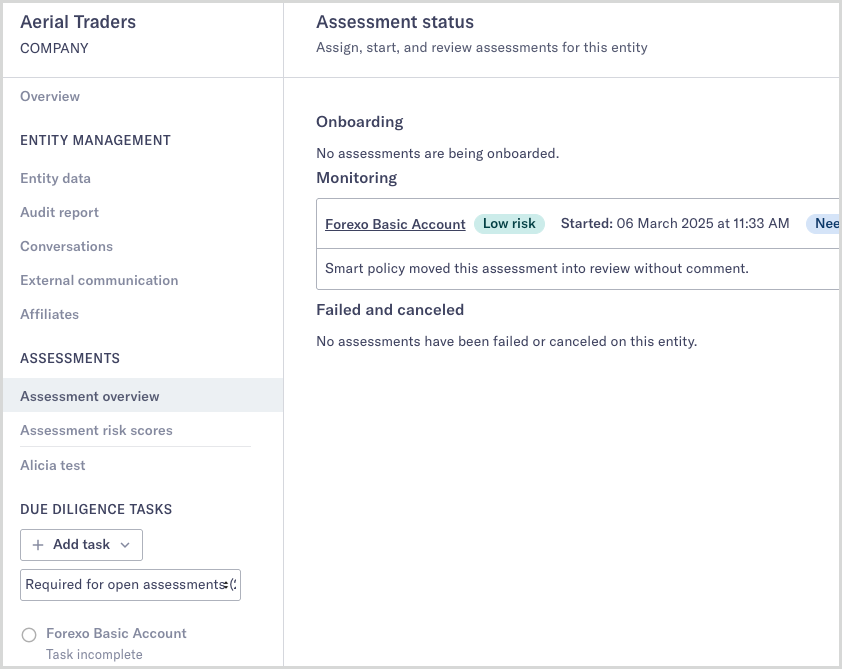
Select the option to go to the entity and in the entity overview page, select your task from the menu.
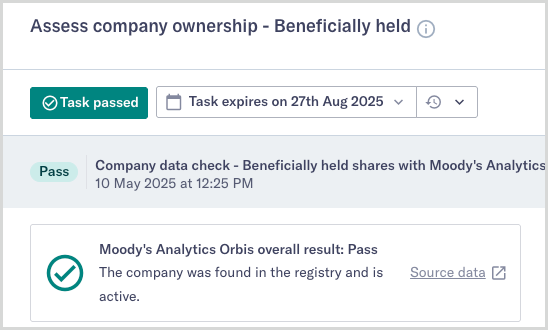
On the task page, you can see the outcome of the check using your integration. Validate that the check ran as expected, the data is present and displayed where expected, and that any embedded links or iFrames work as expected.
Repeat steps 19-21 for multiple entities to ensure you have completed a sufficient range of sufficient scenarios for your integration.